Adding Text to Procreate Artwork with Inkpad
by Lindsay in Vector Tutorials
Combining Procreate artwork and vector drawings creates some wonderful designs and limitless possibilities. In this video I’ll show you different ways to add text to Procreate artwork.
First from Procreate I already have a simple piece of artwork ready to go. I am going to transfer my artwork as a PNG via Dropbox, but you can use photo stream or copy it across.
Heading over to Inkpad, I’ll import my artwork from Dropbox, which is much the same as using the camera roll. If you have chosen to copy and paste, you will need to create a new drawing (if you don’t already have one), open it and select Paste from the Edit menu.
So, here is my new drawing with my artwork all ready as a new layer. It can be resized and rotated like any other element you import into Inkpad.
Because I want to do a cut out text effect, I’m going to start with drawing a white circle, to fill in the hole in the centre of my painting. I can resize and move it until it looks like part of my artwork.
Now on to the text. First I need to change my Fill colour, as white text will get lost on a white background and a new layer, I’ll use the Text tool to create a text box and paste in my text.
Right I like my font choice, but it could with being a bit bigger, so I’ll just change that and align my text in the centre of the circle.
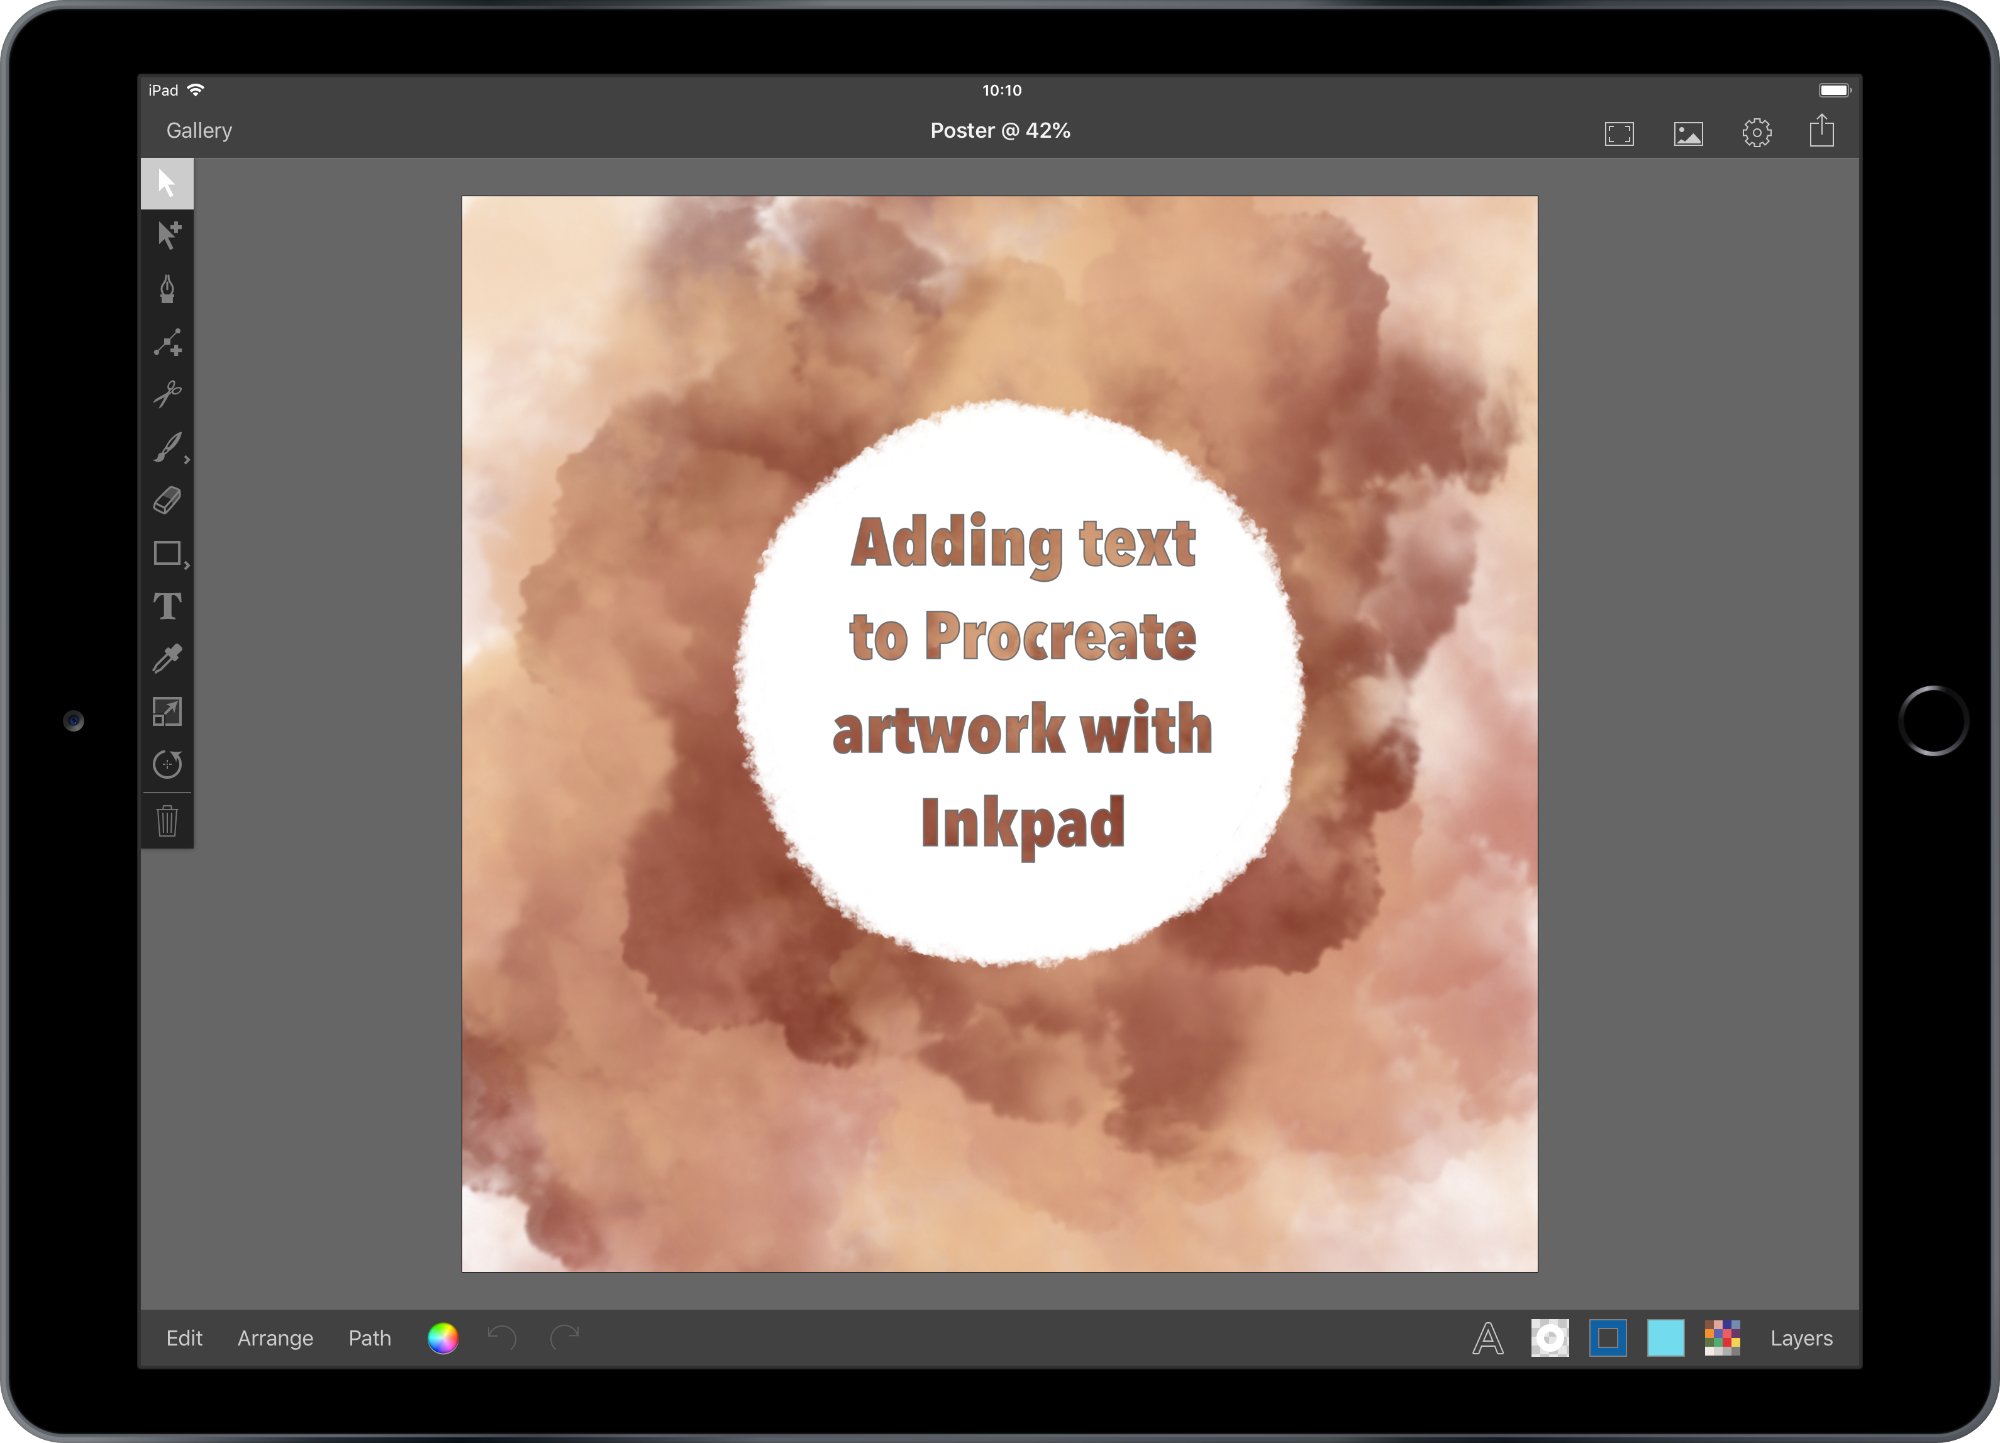
Now I’m happy I’ll duplicate my text layer, this is because I want to convert my text to outlines, and its always handy to keep an original of your text in case you want to change it later. With that layer safely locked and hidden, I will select my visible text layer and use Create Outlines from Text from the Path menu. Now with my text outlines still selected I can select my white circle, with the Multi-Selection tool, and use Subtract Front from the Path menu, and there you go text on my Procreate Artwork. Though the magic doesn’t stop there, you can also import Inkpad vectors into Procreate.
This time I’m going to copy and paste my vector artwork, but again you can save it to Dropbox or your camera roll. I just happen to have a very friendly Octopus waiting for a nice under water home over in Procreate. Using the share menu in the top right of my screen I will select Copy Drawing. Once Mr Octopus is safely copied I’ll transport him over to Procreate, where his new home home waiting for him. In my layer menu I want to make sure he will arrive nicely nestled amongst the seaweed. Then swiping three fingers down the screen, select paste and ‘sploosh’ there he is, looking very happy with his new underwater home.
Lovely but there’s still something missing!
In another Procreate painting I have this rather messy splodge of blues. I’ll copy this over to Inkpad, and Paste it into an empty drawing using the Edit Menu. With the Text Tool, I’m going to create two separate lines of text. It is important I create them separately, rather than starting a new line, because I want to add them to a path and keep each line separate.
Since I have an underwater theme, I’d like some wiggly text. So, using the Freehand Tool I’ll draw myself a nice wavy line. I don’t want that silly black fill so I’ll turn that off, then with with the Multi Selection Tool I can select my first line of text and from the Path Menu tap Place Text on Path. Now with my first line of text selected I will select my blue splodgy background and this time from the Path Menu I’ll use Mask. Oh yeah, that’s nice. If you’re not quite happy with your text you can still change your font and make it bigger if it doesn’t look quite right, but I’m happy with that.
Okay now I need a second wavy line for my text, as before I’ll create one with the Freehand Tool and turn off the fill, which got turned back on when I selected my text. I’m going to want this one a bit longer, but still to match the curves of the top line. That looks good, so I can switch to the Multi Selection Tool and select my text and use Place Text on Path.
Having used my texture creating the last Mask, I need to Paste it in again. Pasting it in has put it right in front of my text, but it needs to be behind in order to create a mask. I can move it back with the Arrange Menu, Send Backward. Now, still using the Multi Selection Tool I’ll reselect my text and create a Mask from the Path Menu. I can still make any adjustments I want to my text and the line it is on and when I’m happy I’ll use Copy Drawing from the Share Menu and head back over to where Mr Octopus is waiting.
Using Procreate’s three finger swipe I can chose Paste and there is my text. I can adjust its size, position and move its layer up so its not hidden behind that pesky seaweed.
There you go, text in Procreate.
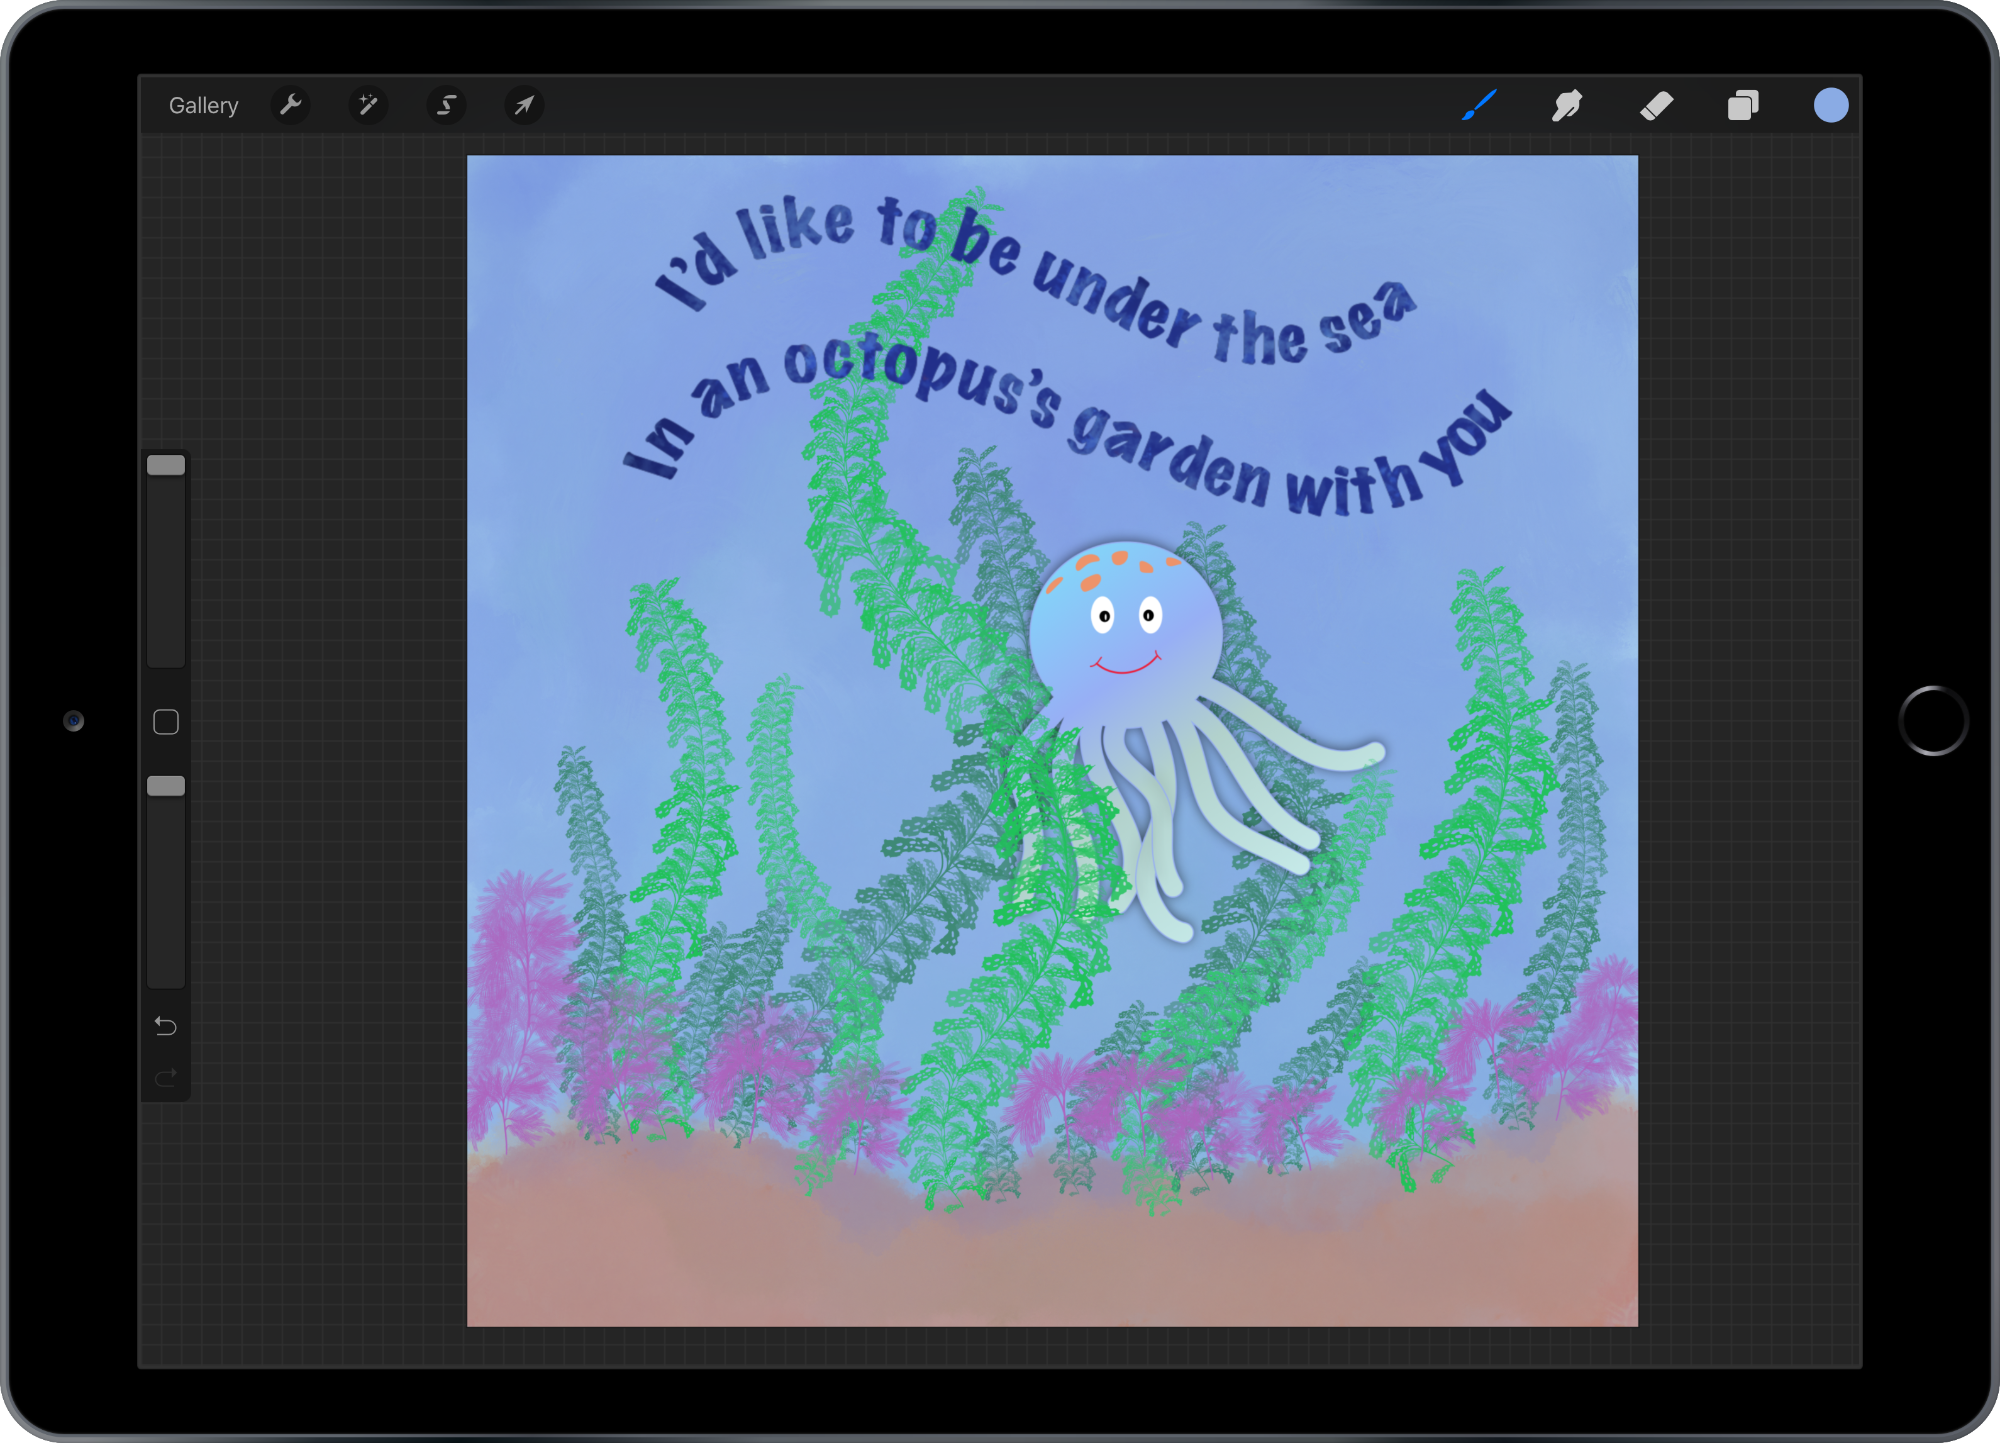
Seaweed brushes for Procreate from Uproot.
Octopus’s Garden written by Ringo Star.