Curves and Control Handles in Inkpad
by Lindsay in Vector Tutorials
Having trouble getting the perfect curve? Well stick with me as I show you the different ways to create and manipulate curves in Inkpad.
Once you have created your shape, all curves can be edited with the Selection Tool, which can also be used for converting corners to curves and back again, by double tapping on the anchor. This can be handy to remember if your curve has gone a bit wild and you want to bring it back under control, or maybe that’s just me.
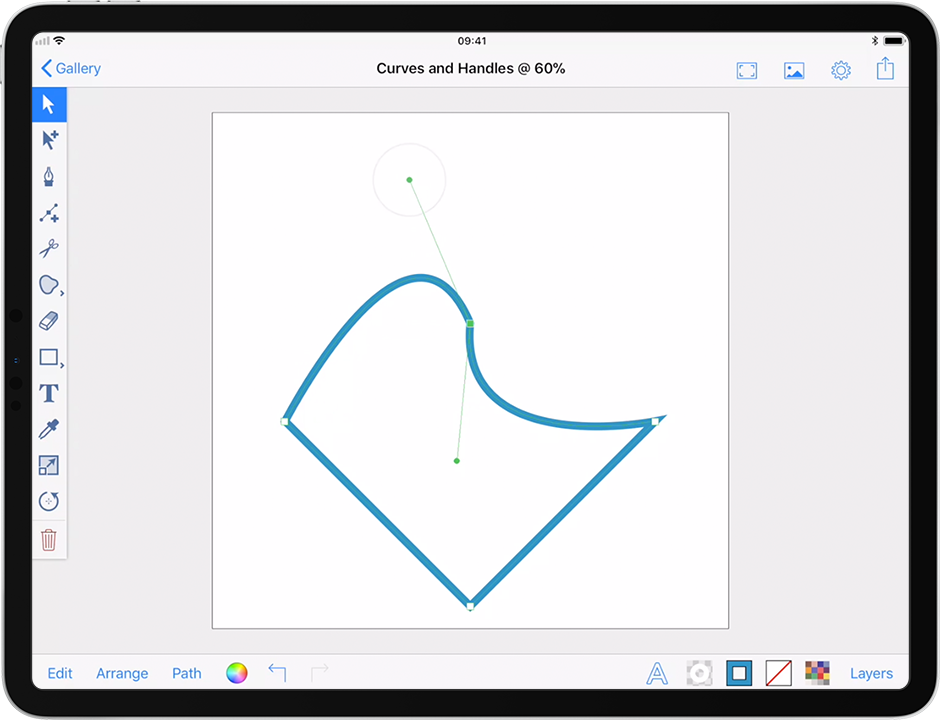
Right, we have our curve and you can see the two control handles, these are used to adjust the curve.
Extending a control handle, the opposing handle does not move. To mirror extending the handles, double tap one control handle and, without releasing your finger on the second tap, drag it.
When you rotate a control handle you can see the opposing one moves with it, without any help. To move the handles independently, drag the handle you want to move and press a second finger to the screen to break the connection between the two handles. You will see the opposing handle snap back into its previous position. If you release your second finger while still dragging, the stationary handle will return to its mirroring position, so you must release the control handle before your second finger. Once you have broken the connection between two handles they will continue to move independently.
To delete a control handle, simply double tap it.
There you go, I hope this helps in achieving your perfect curve!
Lindsay