Creating a Space Background Vector Gradient Tutorial
by Lindsay in Vector Tutorials
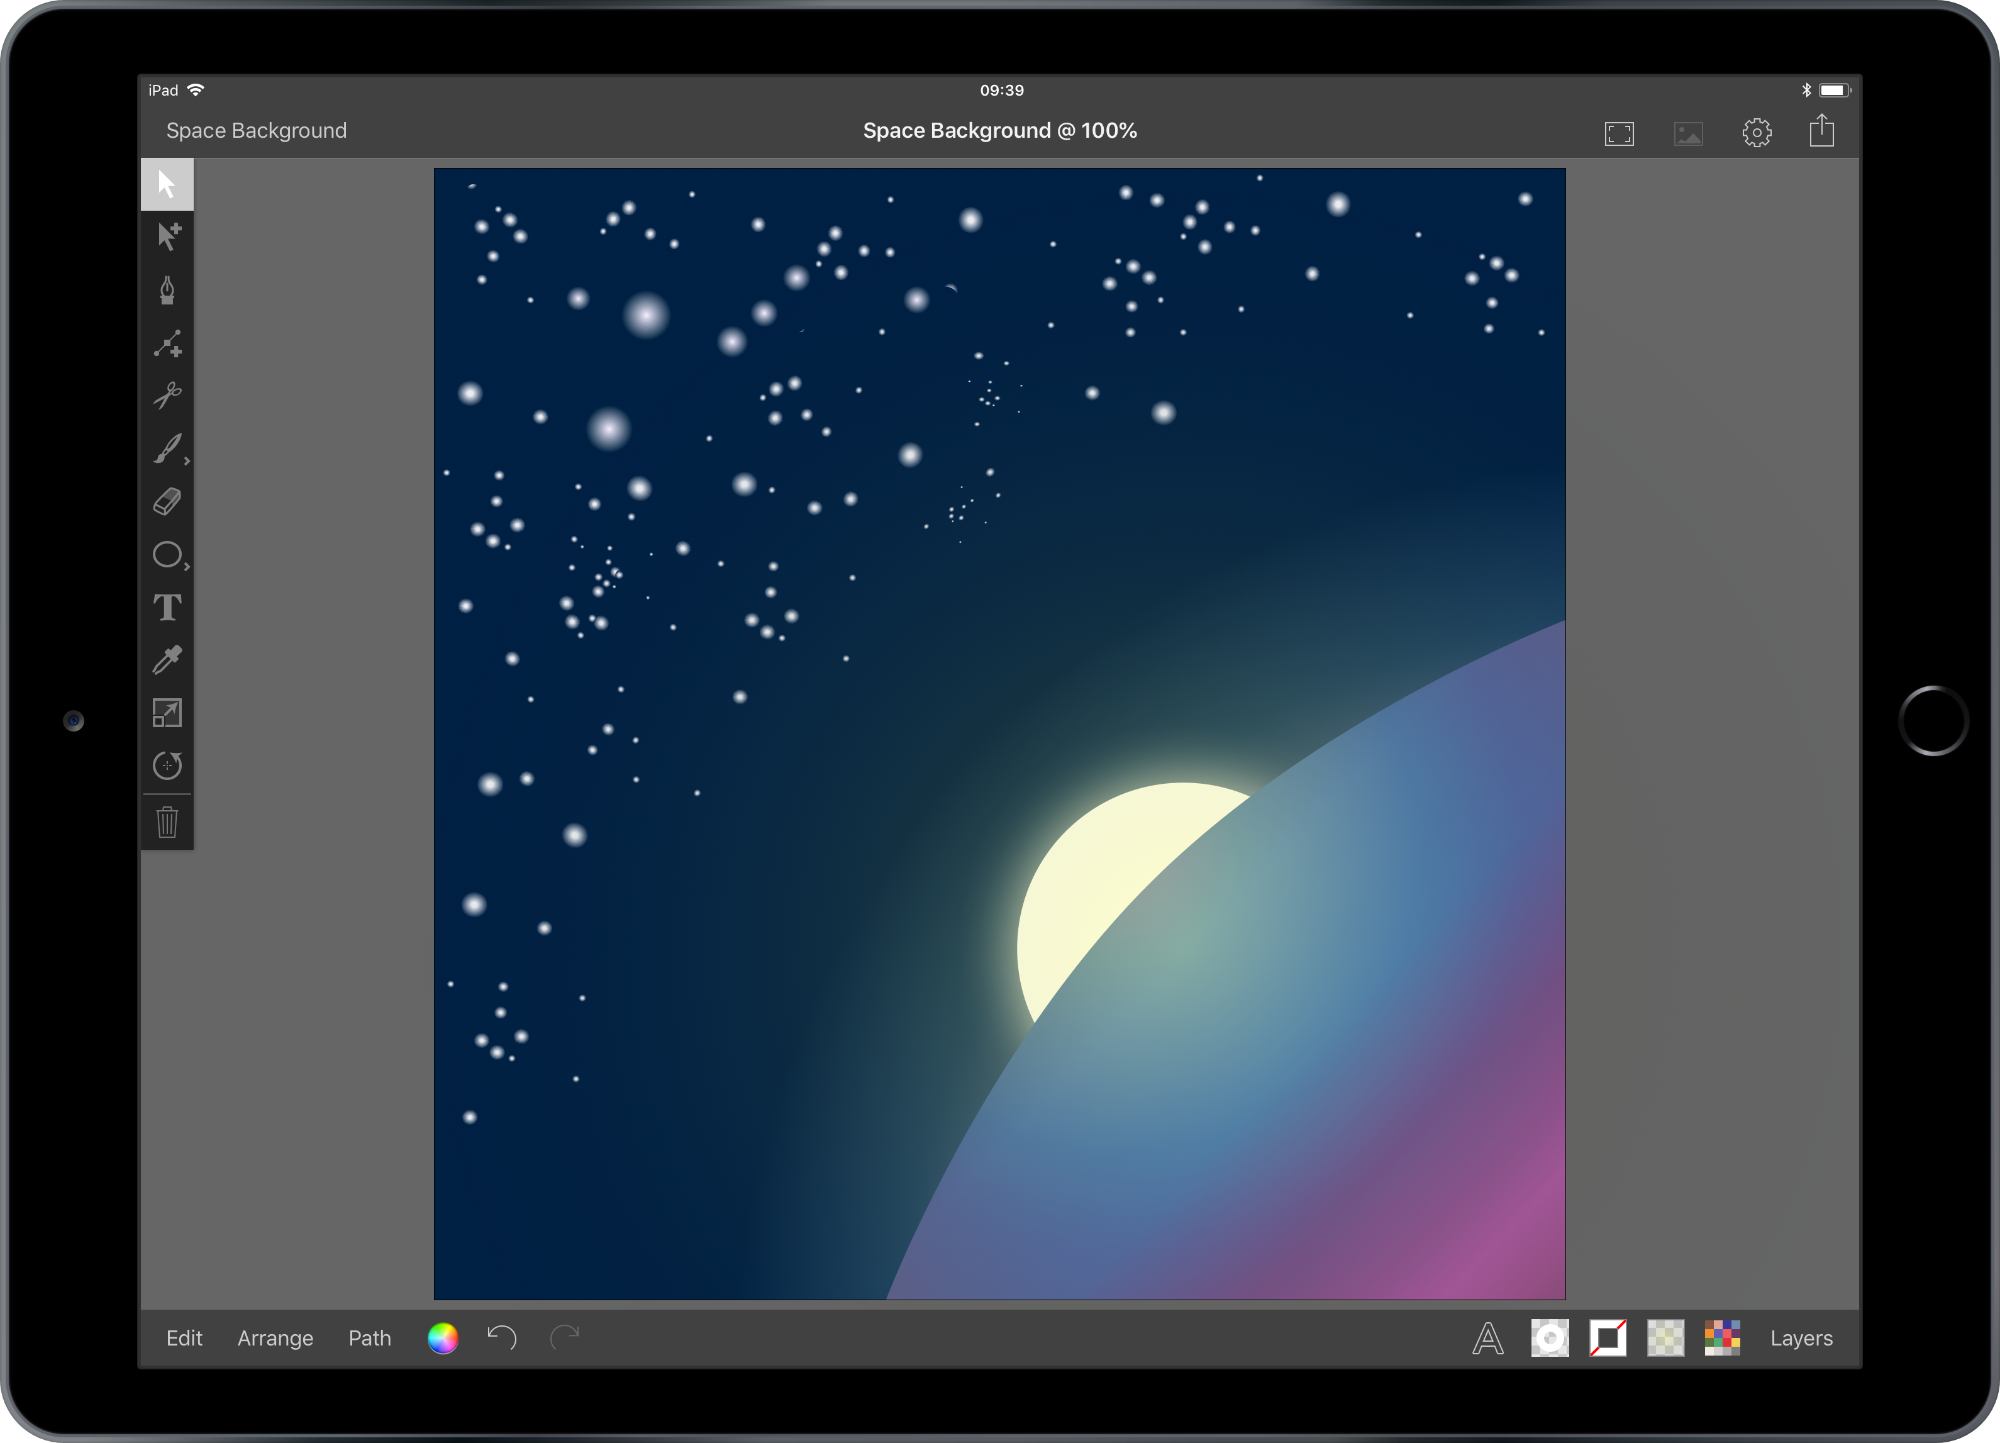
The space background used in my Making Inkie Super tutorial was made using gradients. It is a simple technique and makes an effective background should you wish to send anyone into space using Inkpad.
The space background used in my Making Inkie Super tutorial was made using gradients. It is a simple technique and makes an effective background should you wish to send anyone into space using Inkpad.
First I’ve got a square artboard that’s 900 pixels, but you can make yours whatever dimensions you’d like. From the settings menu, I’m going to turn on ‘Dynamic Guides’, this will help me align things to the artboard. Now I’m going to create my background layer, which is made up of a square the same size as my artboard. With the rectangle tool and using a second finger to constrain my shape, I’ll drag my shape out. The dynamic guides will help me align the square to the edge of the canvas.
Understanding Gradients
Once its all lined up I’m going to add a circular gradient. When you create a new gradient it will have two color stops, to add more simply tap the gradient bar at the bottom and a new one will be added. To remove a color stop, place your finger on it and swipe up or down and it will be deleted. You can also distribute your color stops evenly by double tapping the gradient bar.
To save a bit of time, I already have my gradient saved in the swatches menu, but I will make the colors used available in the tutorial description. Experiment with the position of your gradient stops and the effect they have on your gradient. You can also use the control handles within the your vector shape to change the gradients start and finish points.
Create a Planet
That’s okay for now, I can always adjust it as I build up my artwork. Next I’m going to create my planet. From the layers menu I’m going to add a new layer and simply name it Planet, while I’m here I will also name the background layer and lock it.
For my planet I’m going to use a square. This will help me align my shape to the edge of the drawing, and not give me such a domed shape, as a circle would. With the rectangle shape tool again, I will drag my shape and use a second finger to constrain it to a square. Choosing the selection tool, I’ll drag my square to the bottom corner of my drawing.
Okay so it looks nothing like a planet, but if I use the selection tool to convert a corner to rounded, I can drag the node diagonally, using a second finger to help constrain my movement to a straight line, and hey-presto there’s my planet.
The fill for my planet is made up of a six stop gradient, which I again have saved to my swatches. This will be a linear gradient, and I can adjust the gradient stops to get the effect I want.
Heading to the layers menu I’m going to duplicate this layer and name the duplicate ‘Planet surface’ to distinguish it from the original and lock the original planet layer. Dismissing the layer menu, I want to change the gradient in my new layer to a radial gradient from my swatches menu.
You can adjust the gradient using the gradient stops and the gradient control handles to change it’s look. Once I’m done I’m going to head back to my layers menu, and change the ‘Planet surface’ layers transparency. This will allow the ‘Planet’ layer to show through and give the planet an interesting glow. If I move the drawing to the top, so it is not obscured by the layer menu, you can see the effect of changing the transparency.
A Sprinkle of Stars
Once I’m happy I can lock this layer and add a new one for the stars, because no space background is complete without stars. The stars are simply a circle, with a soft pink to transparent, radial gradient. You can adjust the size and glow of the stars by resizing them with the resize tool, or by adjusting gradient stops to create different effects. As if by the magic I’m just going to scatter stars on my drawing, rather than make you sit through each one.
Add the Sun
Rather than a flying cat, I’m going to add a sun to my planet. I want the sun to be emerging from behind the planet, so I want to add a new layer between the background and planet layers, making sure all layers I’m not working on are locked and naming my new one ‘Sun’. Then I will create a circle with the oval tool, and use a second finger to constrain my shape. With the selection tool I’ll drag my sun into position (you can always use the resize tool if your sun isn’t quite the right size). I’m going to give the sun a solid fill of pale yellow, then I’ll add an outer glow.
That’s looking nice, but I want a bit more brightness from my sun so I’m going to add a new layer at the very top of my layers menu and name this ‘glow’. As I want my glow lined up perfectly with the sun, I’m going to duplicate the sun and increase its size. You can do this two ways, either copy and paste the sun into the new layer, or with the sun selected and your new layer the active layer use Edit, Duplicate in Place. This will duplicate the sun into the new layer. You can pop back to the layers menu and lock the original sun layer so it doesn’t get moved.
With the glow layer selected use the resize tool to increase the size of your circle. I want this to be really big, so I’m going to almost fill my drawing, this will result in some of the circle hanging off the edge and that’s fine. Okay, so that looks rather silly, so I’m going to turn off the outer glow and change my fill color to a radial gradient and adjust it slightly.
There you go, a space background created with gradients.
Gradient colors used:
Background (which ended up planet)
#FFFFFF
#D9DEE5
#8695B0
#627895
#1B3F61
#002043
Planet (for real this time)
#171F37
#2556A2
#155BBC
#592A93
#A73DC1
17213C
Planet surface
#F6E3FF
#A5D4DF
#6086B8
#756696
#8D6078
#BA6586
Stars
#F6EEFF
Transparent
Sun
#FFFFF4
Sun tint
#FFFF2F
Transparent