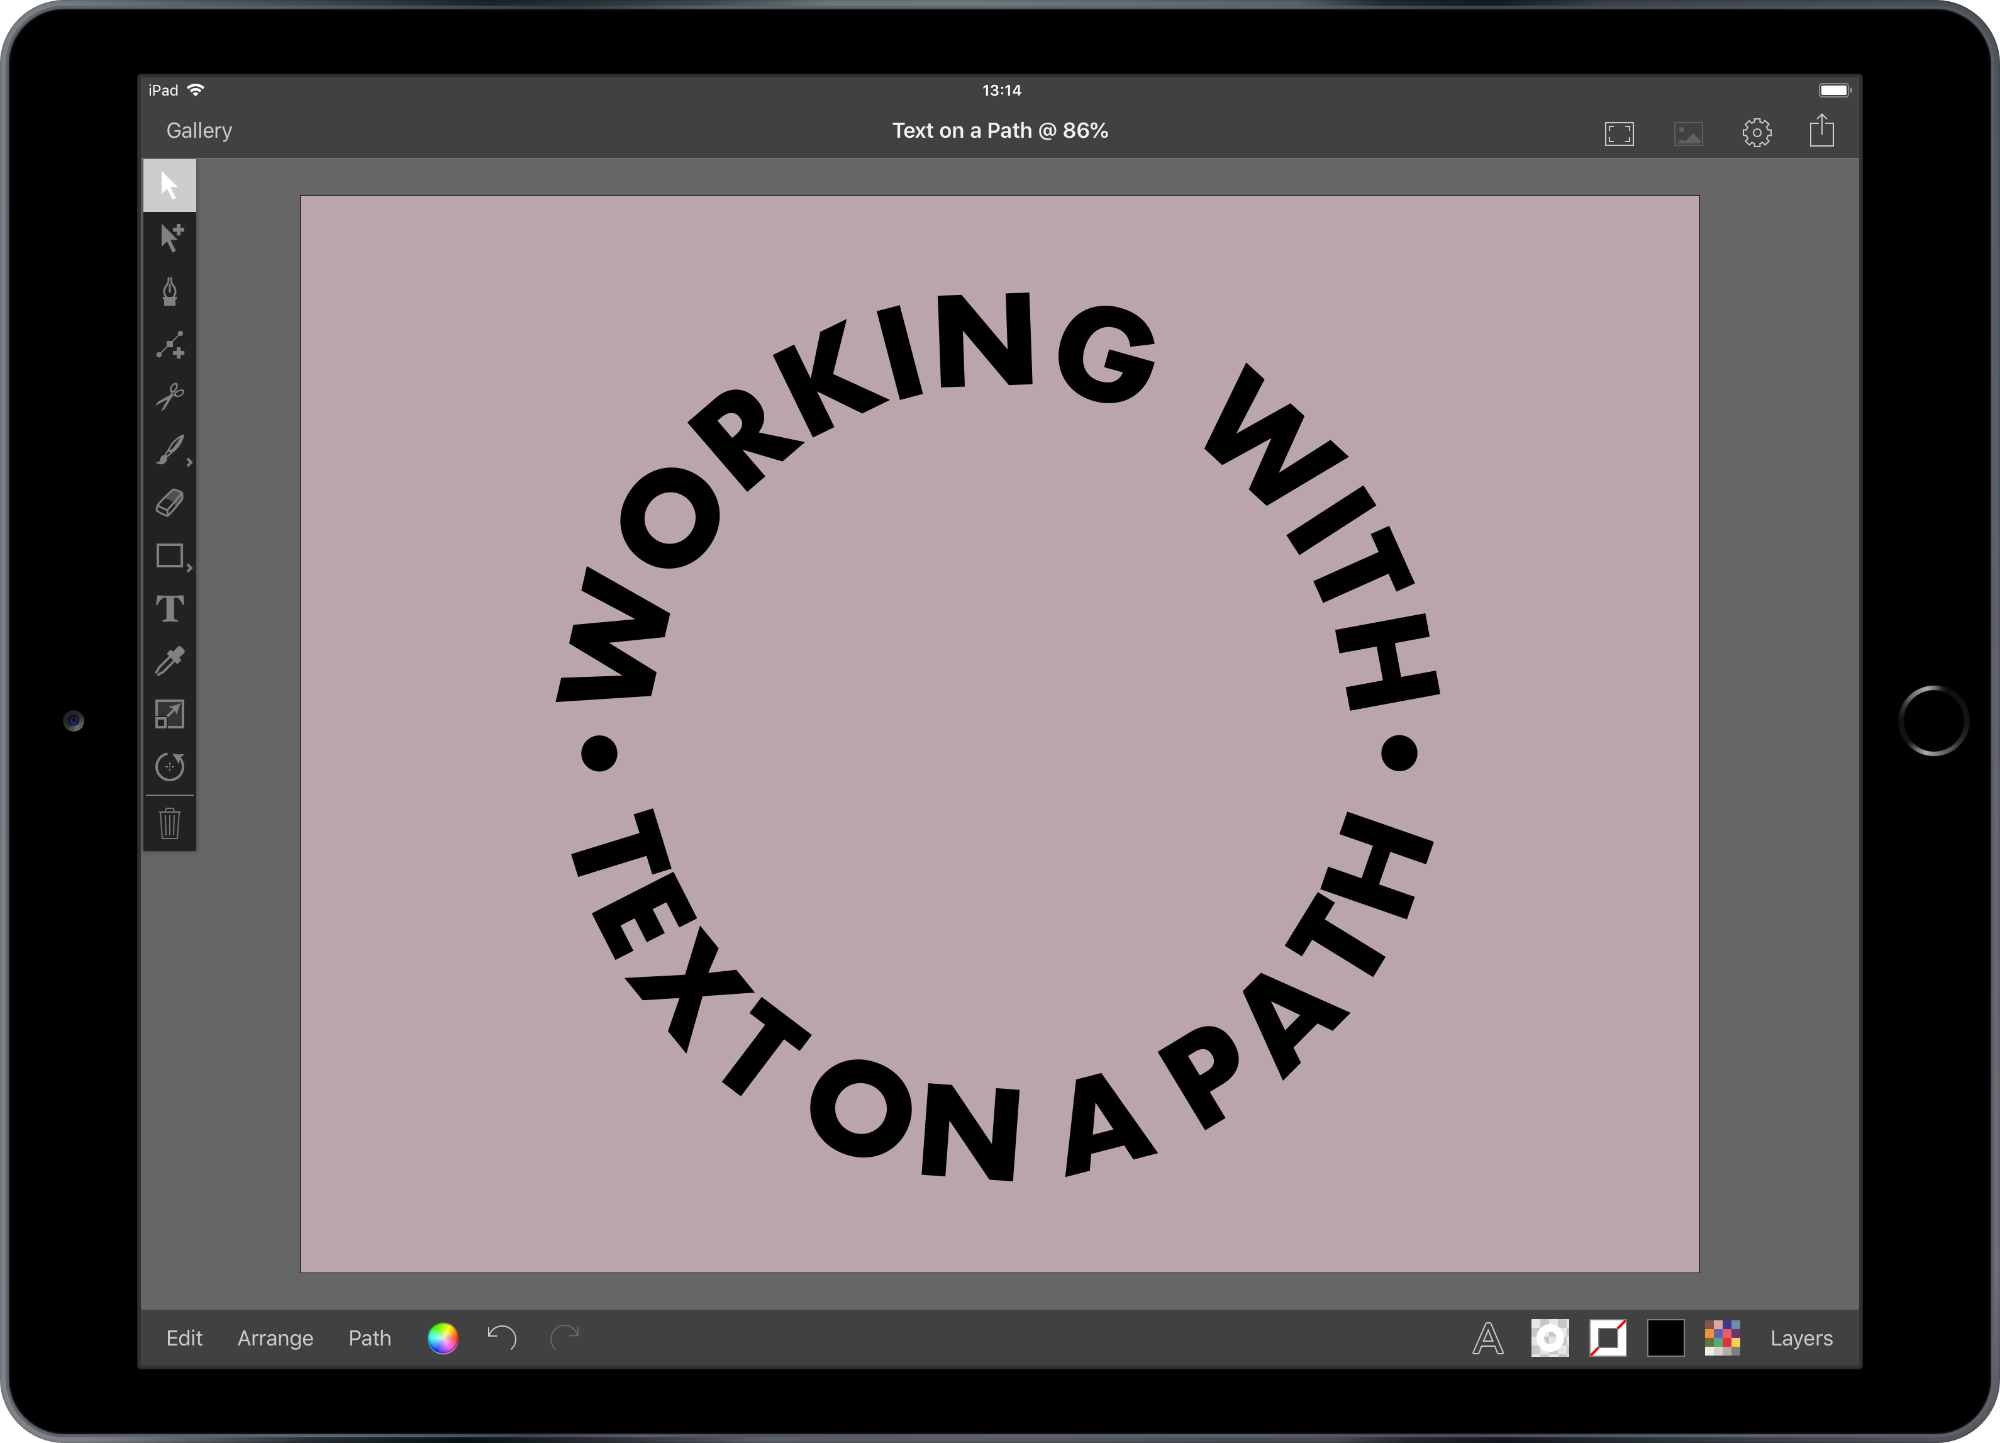
Working with Text on a Path in Inkpad
by Lindsay in Frequently Asked Questions
Placing text on a path in Inkpad is pretty straight forward. First you’ll need to create a shape, this will become the path for your text, I’m going for an oval. One thing I always do when adding text to a path is duplicate my shape layer. This keeps the original shape safe, just in case I need it again, which I will later on in this video.
With my shape safely duplicated I can create my text. When that’s done I want to select both the shape and text, using either the multi selection tool, or Select All in Layer from the Edit menu. Then from the Path menu, down at the bottom tap, Place Text on Path.
And there’s my text on a path. I can still edit my text, change its font and size or adjust my shape if I want to.
Text Inside a Path
That’s all well and good, but what if I want my text on the underside of my oval? Simply grabbing the control handle and sliding the text round will leave the text upside down, but I’d like my text the right way up.
Flipping the text is very simple, I’ll just undo that and with my text still selected use Duplicate in Place from the Edit menu. Now I can use Reverse Path Direction from the Path menu. You can see my text flip and when I slide it round it is now attached to the inside of the oval, and more importantly is the right way up.

Matching Inner and Outer Text
Now if you should want your text underneath to match the curve of your top text you’ll need to increase the size of your shape. If I delete this and head to my safe shape layer, I can duplicate it again. With my new shape I’m going to increase its size with the Resize tool, so it skims the top edge of my upper text, like this.
Now I can create some new text. Inkpad has remembered my last used font so it will be the same size as the previous text. Once that’s done I can select it and the shape as I did before, and choose Place Text on Path. As you can see my text has gone to the top of the oval, but this time if I use Reverse Path Direction, from the Path menu, and slide it round you can see both sets of text now follow the same curve.
Lindsay
