Importing Fonts from dafont.com Tutorial
by Lindsay in Vector Tutorials
If you are using vector text in Inkpad, importing fonts can help give your artwork the finishing touch. In this video I import a font from one of my favourite font websites, dafont.com, and use it in an existing vector drawing.
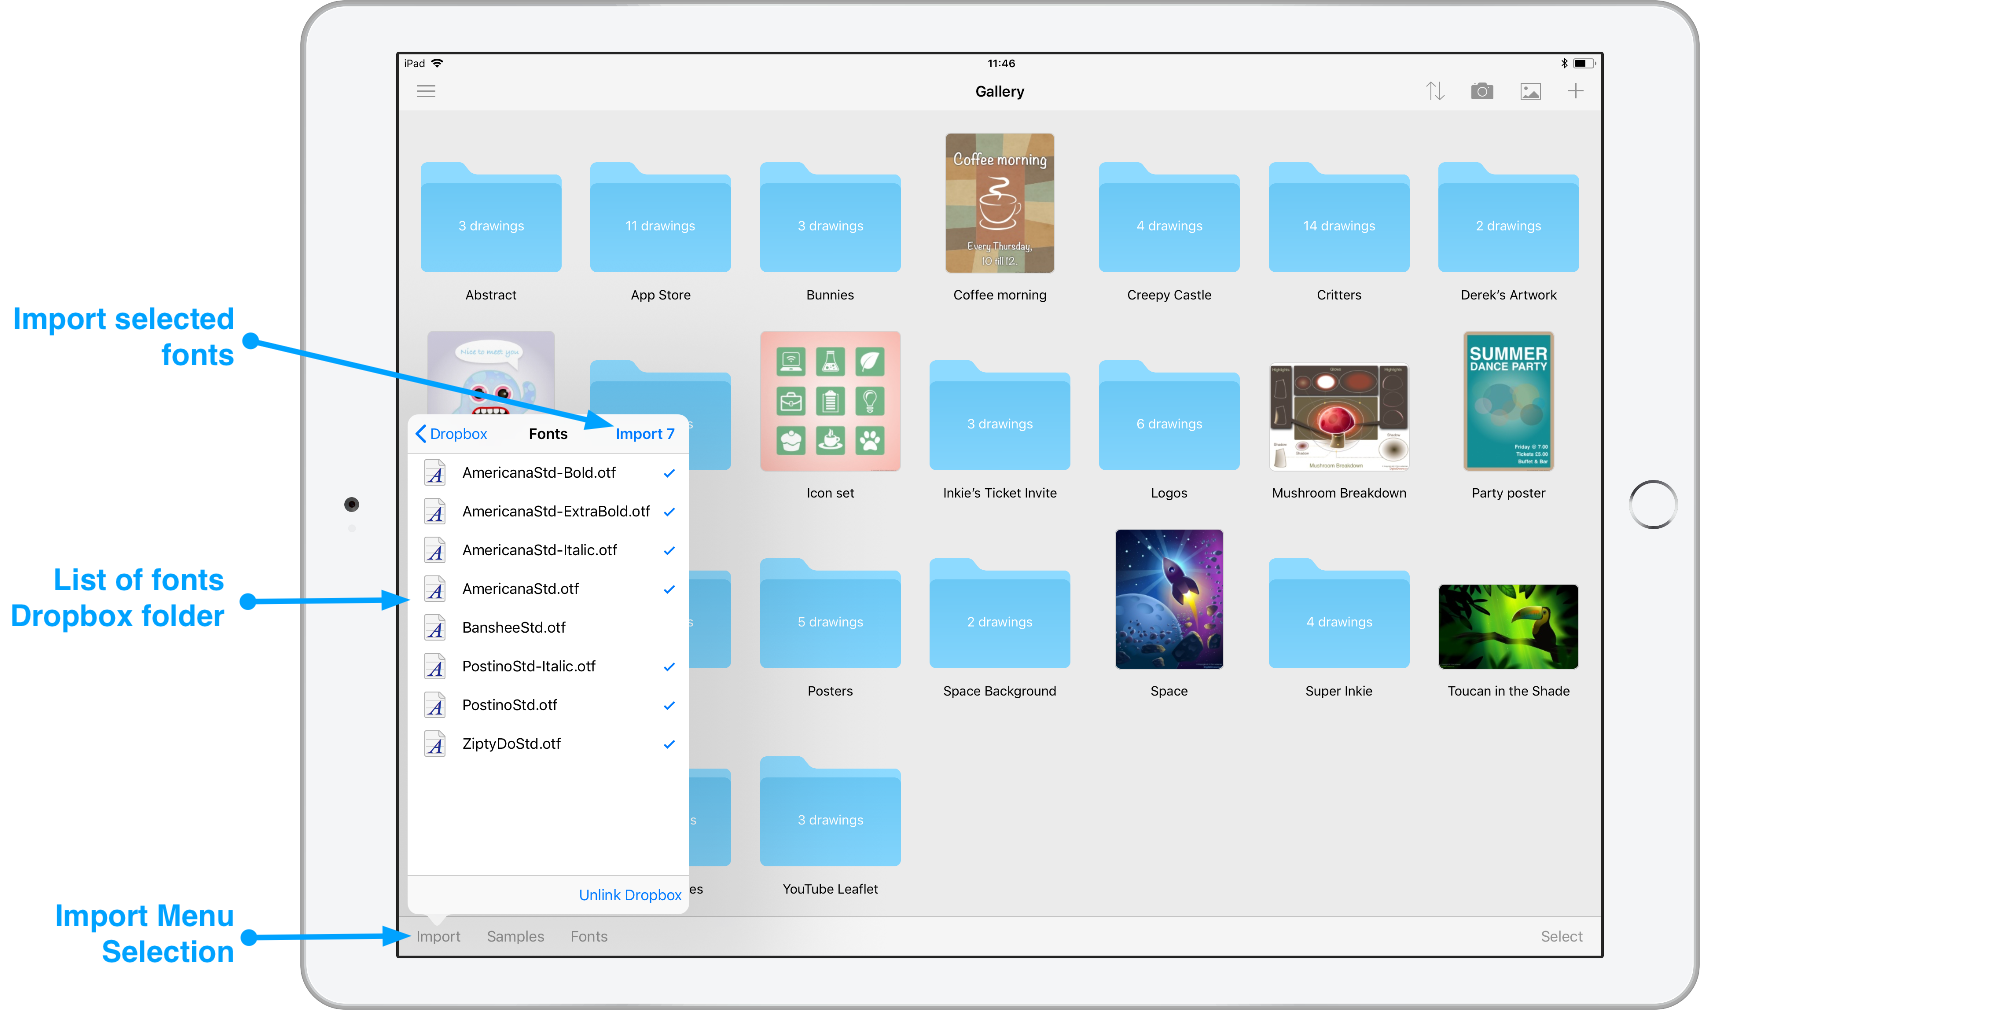
Please note, some of the details in this tutorial changed in iOS 11 and are covered in Importing and Managing Fonts with Inkpad.
Importing fonts is very simple in Inkpad using dropbox. There are a great range of standard fonts available through your iPad, but if you are looking for something a bit different to spruce up your artwork, then join me as I show you how to add fonts to Inkpad.
Finding the Perfect Font
First things first, you have to find a great font site. One of my favourites is dafont.com, it is full of high quality free fonts. I can, and do, spend hours here just browsing their huge range of categories. Today I’m going to try and behave myself and just look for a decorative font to update Inkie’s ticket invite, which I created in my last video using standard iPad fonts.
I’m using my computer to download the font, then I’ll use Dropbox to transfer it to my iPad.
Right, I want something decorative and swirly. You can see dafont has loads of categories, and most fonts do appear in several categories so you won’t miss something if you don’t look everywhere.
Under ‘Fancy’ they have a ‘Curly’ category so that’s where I’m going to look. There are lots of pages under this category, I’m going to limit myself to page one for this video, or we’ll be here all day.
This is nice and fun, as you can see the fonts page contains details of its license agreement and shows all the characters available in the download. (Back at the top you can preview the text, which is really good if, like me, you have some specific text in mind.)
Inkie’s Cake Party looks really nice, but I’m going to have a quick look and see what else I can find.
This also has the look I want. Again you can see all the information about the font, and notice this one does not contain numbers. I don’t need numbers so it’s not a problem for me, so I can preview my text.
Nice, but I prefer the other font, so I’ll head back to its page and download it.
Downloading Fonts
In my download folder you can see I have a zip of the font. I’m simply going to double click it to unzip the file, and copy it over to my Dropbox so I can access it from my iPad.
The font will come with a text file, which explains the licensing restrictions in using the font for free. And a really nice message from the font creator. I’ll have to send her a link to this video and thank her for the font :-)
Importing Fonts into Inkpad
Now I can get my iPad and open up Inkpad. From the Gallery, I want to open ‘Import’. Dropbox is already open on the folder I want so I can select the ‘.ttf’ file and tap ‘Import’.

Organising Imported Fonts
Just along from ‘Import’ you’ll find the ‘Fonts’ menu, this shows all the fonts you have imported into Inkpad and allows you to delete them if you want, but be warned this will affect any artwork using the font.
Adding Downloaded Fonts to a Design
I want to use my new font, so I’ll open my Invite and with the selection tool tap the text I want to edit. From the list I’ll pick my newly installed font, change the size slightly and voila. How great does that look now even if I do say so myself.
Credits
The font used in this tutorial is ‘Give me some sugar’ by Emily Spading.
